
This guide shows you how to build a basic landing paging using GitHub and an HTML/CSS template of your choice. GitHub allows you to host unlimited project websites but only one personal website. This guide will show you how to create a static website, hosted via GitHub, using the terminal (command line).
Why choose a static website?1
A static website is the simplest form of website you can create. It is coded in HTML. The advantages of static websites lie in their simplicity. For relatively small sites, content management solutions (CMS) such as Wordpress are largely overkill and can require a fair amount of maintenance. A static website has the advantages of being:
- simple
- low maintenance
- easy to develop
- free to host (via GitHub, for example)
So, if you feel a static website is for you, then read on!
Choose your website template
The first thing you have to do is choose which HTML/CSS template you want to work with. This will determine how your website will look and feel, as well as defining its parameters.
HTML (Hypertext Markup Language) is a markup language for describing documents (web pages). HTML5 is the most recent version of this markup language, which we will be using as our template. A markup language is a set of markup tags. With regard to HTML, each markup tag describes different document content. HTML tags are keywords surrounded by angle brackets, i.e. <tagname>content</tagname>. They normally comes in pairs where the first tag is the start tag and the second is the end tag, which is differentiated by the slash before the tag name. HTML dictates your web site’s content: its structure, allowing you to add content such as images, text, videos, links, etc.2 For example:

CSS (Cascading Style Sheets) is a stylesheet language that describes the presentation of an HTML document. CSS describes how elements must be rendered on screen, on paper, and other media. CSS dictates your web site’s style: its visual look and feel, such as font size, font colour, page layout, mouse-over effects, etc.3 For example:
If you want to learn more about using HTML and CSS, Codecademy has a free online course, Make a Website, which includes both HTML and CSS tutorials.
There are a huge number of HTML/CSS templates freely available on the web, but for example’s sake - and because it has a fairly wide variety of templates available - we will use the HTML5up site.4
Browse the site and select your desired template (you can use the ‘Live Demo’ button to have a closer look at the design).
For the purposes of the guide, I have chosen the Aerial template:

Download and save the template. At this point, it doesn’t matter where you save it - your usual downloads folder will suffice. The template will download as a .zip file, so you will need to extract the contents using 7-Zip, WinZip, iZip, or a similar extractor.
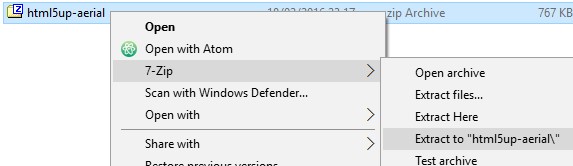
Extract the files to a new folder by right-clicking and selecting ‘Extract to [template filename]’:
You should now have an non-.zip file folder with the same name:

Create a new repository
This step creates the repository for your website template/HTML and CSS code on the GitHub site. This is where the code is stored that will generate your website as viewable on the web.
Remember, GitHub only allows one personal website per user via its platform.
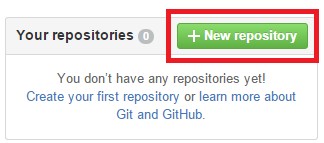
Go to GitHub and create a new repository:
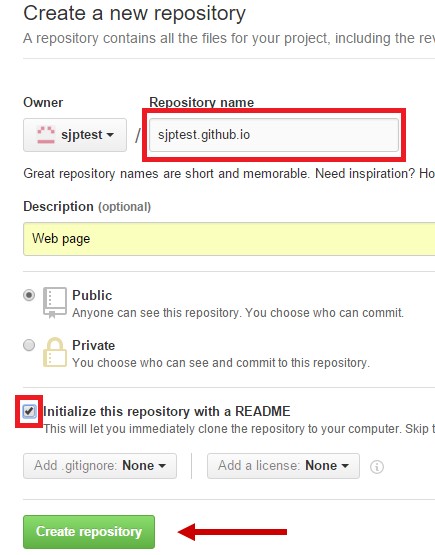
Name the new repository ‘[username].github.io’.
As GitHub only allows one web page per user, it is important that the username part of your repository name matches your GitHub username exactly.
Enter a ‘Description’, if desired. Leave as ‘Public’. Tick ‘Initialize this repository with a README’. Click ‘Create repository’:
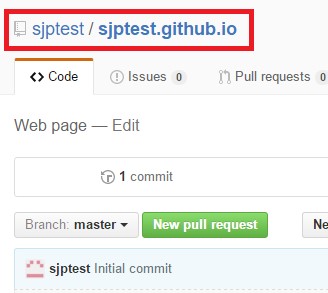
You should then be in your repository on the Git Hub page:
Clone the new repository
Now you have created the repository for your website on the GitHub website, you need to clone it and create a local version on your local drive (PC/laptop) so you can make and view changes to your page locally without it affecting the version viewable on the web until you want them to.
Go to the file location/folder where you want to store your project with File Explorer.
GitHub will create a folder called GitHub when you install the client/terminal, so you can use this location/folder unless there is somewhere else you would prefer to store your project.
Open the terminal (command line).
This will have been installed when you installed GitHub - it is called Git Shell. At some stage when using the terminal for the first time, you may be asked to confirm your GitHub log-in details. If so, simply follow the instructions on the terminal.
If the terminal is not already pointing at your desired file location/folder, as selected above, then you will need to change the directory to the file location/folder the terminal is pointing at. The easiest way to do this is drag and drop the file location/folder into the terminal, so type cd and then drag and drop the file location/folder. For example:
cd C:\Users\GitHub\Documents\GitHub
Hit Enter.
The terminal should now be pointing at the correct file location/folder. (If it is already pointing at the correct file location then ignore this step.)
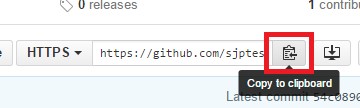
To clone the repository, first return to your repository on the GitHub site and copy the URL (in the box next to ‘HTTPS’) by clicking the Copy to Clipboard button:
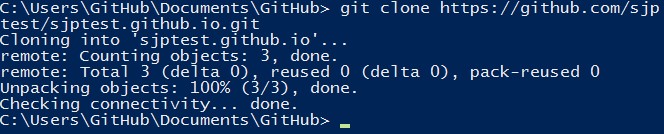
Open the terminal again and type git clone and then paste in the copied clone URL. For example:
git clone https://github.com/sjptest/sjptest.github.io.git
Hit Enter.
You should now see a message similar to the below:
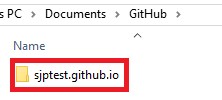
To check/view your local clone of the repository, go to the file location/folder you chose to store your project with File Explorer and you should see the cloned repository as a folder with your username as its file name:
Add your website template to your cloned repository
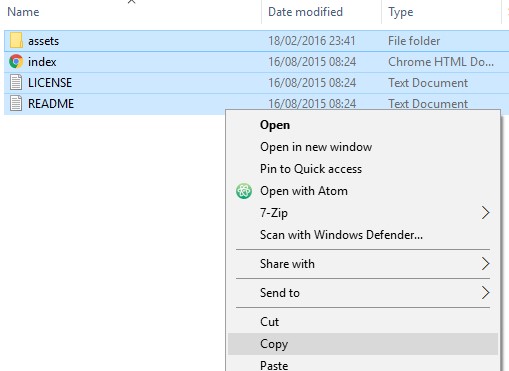
Go to the file location/folder where you saved your template. Copy the contents of the extracted file version of the template:
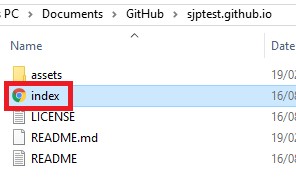
Return to your cloned repository folder (with your username as its file name) and paste the template file. Double-click/open the ‘index’ file:
This should be an HTML file which will open with Chrome/IE/Firefox/Safari. The file should then open in whichever web browser you use as a local web page:
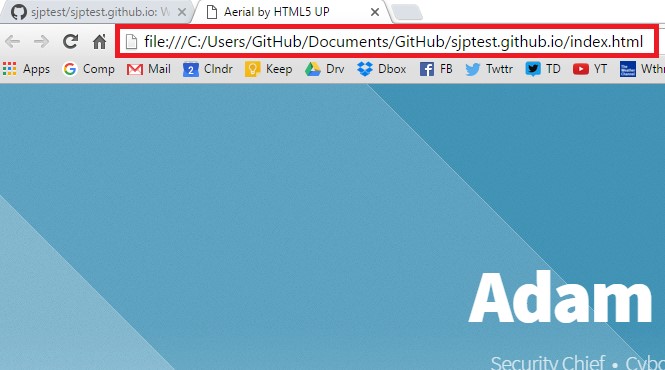
Note how the URL is actually your local file location/folder and not a web address.
Make changes and personalise your site
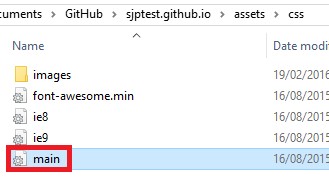
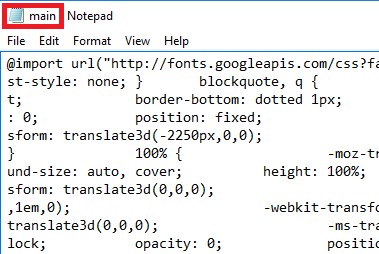
So now you have your template set up locally, you will want to make some changes to personalise it. To do this, you will need to make changes to the template HTML and CSS code. You can either do this in Notepad by opening the individual files from your local clone repository file location/folder:
This will look something like this:
But perhaps an easier and more user-friendly way to make changes to the template HTML and CSS code is using a text editor. To do this, you will need to download and install a text editor of your choice, e.g. Atom.
A text editor is a tool that allows you to open projects, such as your web page, and make changes to existing HTML/CSS code and/or write new code in an (arguably) more user-friendly manner. However, if you would rather use Notepad, this is also fine: it is all about personal preference.
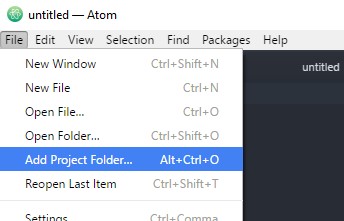
If you choose to use Atom, once you have installed the application, you will need to add your project to the text editor. To do this, open Atom and go to: File > Add Project Folder:
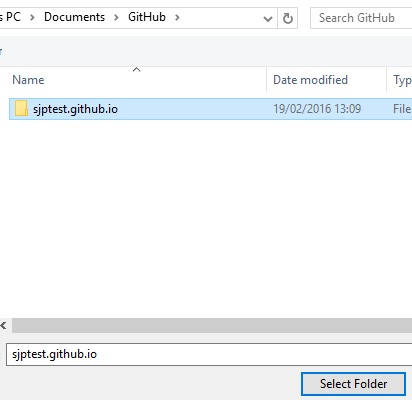
Select your cloned repository folder (with your username as its file name). Click ‘Select Folder’:
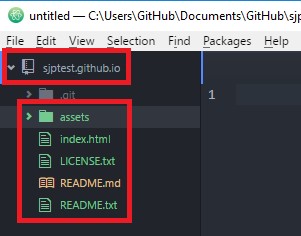
You should now see your cloned repository and the template files you pasted into it on the left-hand navigation bar:
So, now to make some changes. The first thing you will probably want to change is to add your name, details, and links to your page. To do this, click on the ‘index.html’ HTML file on the left-hand navigation bar. This will open the main HTML (structural) elements of your page. You should see something like the below:
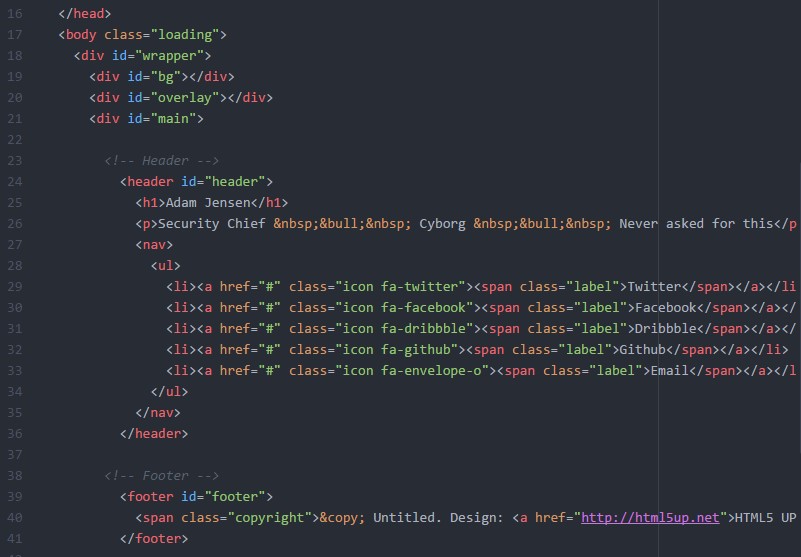
You should be able to clearly see the name of the user that created the template, whose name appeared when you viewed the template on HTML5Up and when you viewed your template via the index.html HTML file from your locally cloned repository in your web browser, along with the other key details. For example:
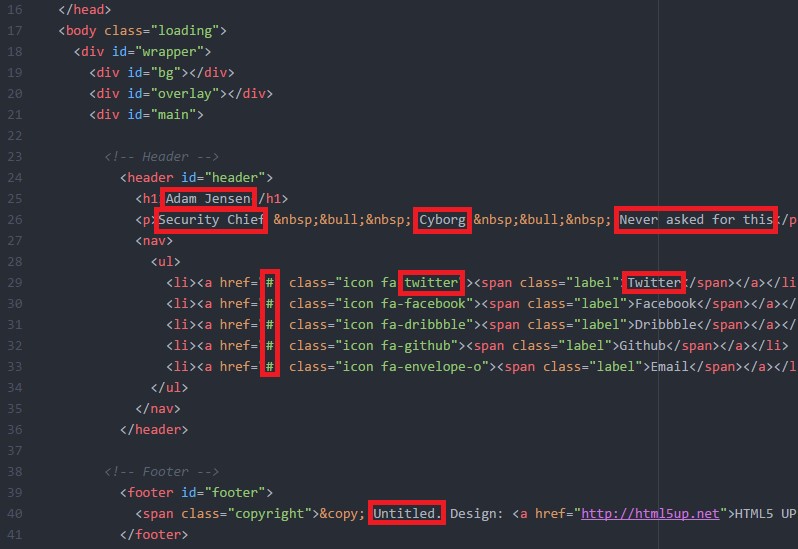
To amend these, just delete the existing details and add your own. For example:
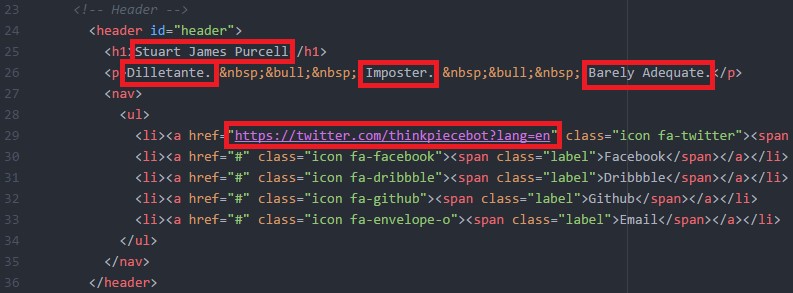
Make your changes and then CTRL+S to save.
Check your changes locally
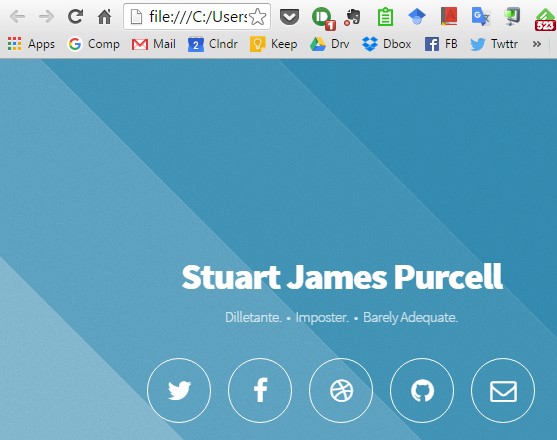
To check your changes locally, before you make them visible on the web, go back to your locally cloned file location/folder (either by refreshing the page in your web browser, if you still have it open, or in File Explorer, by double-clicking the ‘index.html’ HTML file again). You should then see the changes you made in the text editor replicated on the template in your local repository. For example:
Pushing your changes
Once you are finished working and are happy with your changes, you need to ‘push’ these ‘upstream’ to your origin repository on the GitHub web site. This will allow these changes to reflect globally on the web-based version of your web page.
There is no need to ‘pull’ any changes from ‘upstream’, because you are the only person making changes to your site. There is only your local cloned repository and your origin repository.
To do this, open the terminal. First, ensure the terminal is pointing at your locally cloned repository at the correct file location/folder. To do this, type cd and drag and drop the file location/folder into the terminal. For example:
cd C:\Users\Documents\GitHub\sjptest.github.io
Hit Enter.
The first step is grouping all changes in a staging area.
To do this, type git add –A. Enter.
Next, you need to ‘commit’ your changes. To do this, type git commit –am ‘[comment]’ (where your comment should typically reflect the changes you’ve made, e.g. ‘initial changes’, or ‘update contact details’, etc). Enter.
And lastly, to ‘push’ your changes to the origin repository on the GitHub website. To do this, type git push. Enter.
If you load your website, you should now see these changes reflected.
And that’s it - you now have your own landing page! You are now free to amend and personalise it in any way you wish!
Enjoy.